Zapier Integration – HubSpot CRM
In this post, we will connect Rex with the HubSpot CRM and set up two-way communication using Zapier.
Requirements:
- A free Zapier account – sign up here
- A free HubSpot account – sign up here
- Your Rex credentials
- At this time, the Meet Rex Zapier app is available by invitation only. Click here to make the app available for use in Zaps.
Why Use HubSpot?
HubSpot offers a nice, free CRM. As an added bonus, they make it really easy to add chat support to your site. Meet Rex has been using HubSpot’s chat functionality for a while now and we are fully satisfied with it. Also, HubSpot has an extensive Zapier app, which opens the door to countless integration opportunities.

Purpose of the Integrations
The first integration we are going to build will trigger a Rex message whenever a close date is recorded for a contact in HubSpot CRM. This way, when you close a deal, you don’t need to remember to log in to Rex to send out a feedback request to your client – HubSpot will notify Rex through Zapier and Rex will send out a feedback request automatically.
In addition to collecting feedback and reviews from your clients, you can use Rex to ask satisfied clients for referrals. The second Zapier integration we’ll set up will carry referrals from Rex directly into the HubSpot CRM, without the need for manual data entry.

Sending Rex Messages Automatically
Setting up the Zap is an easy, if somewhat lengthy, process:
- Log in to Zapier and click the “Make a Zap!” button.
- Choose HubSpot CRM as your trigger app.
- Choose “New Contact Property Change” as the trigger, then click “Save + Continue.”
- Click “Connect an Account.”
- In the popup window that opens, grant access to Zapier.
- Click “Save + Continue.”
- In the Property Name drop-down, select “Close Date” and click “Continue.”
- Zapier will display a data sample from your HubSpot CRM account. Click “Continue.”
- Click “Your Zap currently lacks an Action step. Add one now!”
- Select Meet Rex as your action app. If you can’t find it, click here to make the app available.
- Check that “Send Message” is selected and click “Save + Continue.”
- Click “Connect an Account.”
- In the popup window that opens, provide your username and password to grant access.
- Click “Save + Continue.”
- Test the connection and click “Continue.”
- For each of the three input fields, choose the matching HubSpot CRM field or fields and click “Continue.”
- Click “Send Test To Meet Rex.”
- You should see a message indicating the test was successful. Click “Finish.”
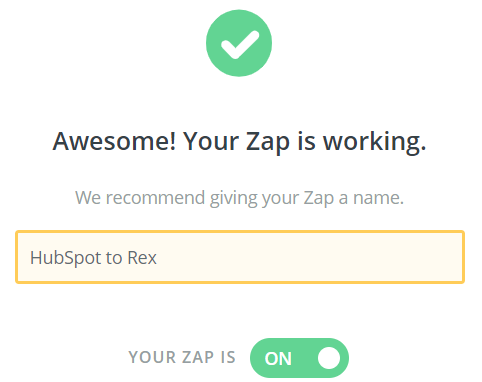
- All that’s left to do is to give your Zap a name and turn it on!
Receiving Referrals in HubSpot CRM
The Zap we are going to make next will make sure referrals you receive through Rex automatically appear in HubSpot CRM automatically, without the need for manual entry.
- In Zapier, click the “Make a Zap!” button.
- Choose Meet Rex as your trigger app.
- Make sure the “Referrals” trigger is selected and click “Save + Continue.”
- If you followed along with the previous paragraph to set up automatic messages, you should now see your connected Rex account. If not, connect your account now. Click “Save + Continue.”
- Choose a sample referral to set up your Zap. Click Continue.
- Click “Your Zap currently lacks an Action step. Add one now!”
- Select HubSpot CRM as your action app.
- Select the “Create or Update Contact” action. Click “Save + Continue.”
- If you set up automatic messages as outlined above, your HubSpot account should already be connected. If not, connect it now. Click “Save + Continue.”
- Now it’s time to link fields. For “Contact Email”, select “Referral Email”. For “Phone Number”, select “Referral Phone”. Unlike Rex, HubSpot CRM stores first and last names separately. Because of this, we have to enter the full Referral Name from Rex as either “First Name” or “Last Name.” Other fields are optional. You can specify “NEW” for “Lead Status”. For “Original Source,” choose “REFERRALS.” For “Membership Notes”, you can build a custom value, for example “Rex referral from ” plus the “Referring Name” information received from Rex. When all relevant fields are filled in, click “Continue.”
- If the test is successful, click “Finish.”

Notes
- The Membership notes may not be visible in HubSpot CRM unless you first make them visible: In HubSpot CRM, click the gear icon to access Settings. On the Contacts tab, click the Manage button next to “Set the properties your team sees on contact records.” Now select “Membership notes” in the list and click Save.
- HubSpot CRM requires contacts to have a valid email address. Rex, on the other hand, does not require an email address for referrals. To make sure referrals without a valid email can be sent to HubSpot CRM, Rex will add the dummy email “no@ema.il” if no valid email address was supplied.